Marksmanship is about maintaining proper form and developing the habits that will ensure steadiness and accuracy. Read on to discover tricks the pros use to hit the target every time.
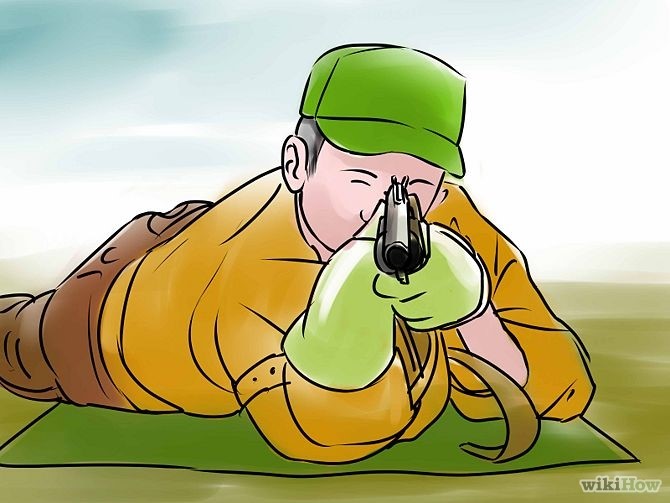
In the Army, soldiers who pass basic marksmanship are expected to hold their rifle steady enough to keep the front sighting post straight even if a hammer falls on the barrel. By mastering these fundamentals of basic steadying technique, you should be able to hold your sights that steady in any position.
- Practice different positions to find what works best and is most comfortable for you. The seated position, comfortable for some, is uncomfortable for shooters with bad hips.
- If you're right-handed, your "firing hand" will be your right hand and your "non-firing hand" will be your left hand, and vice versa.
- However, eye dominance also plays a factor. Generally, with shoulder-fired weapons, you line up on the side of the dominant eye. This is even true for cross-dominant shooters — people who are left or right handed and dominant in the opposite eye.
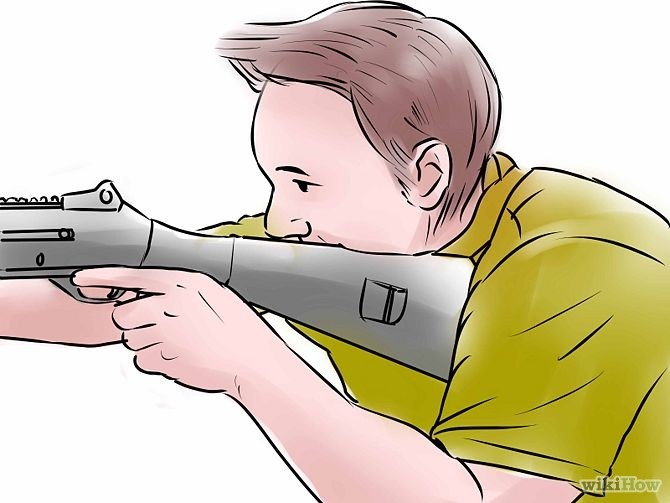
The rifle's hand guard should rest in the "V" created by your thumb and forefingers. The grip should be light, like a bad handshake, and the wrist should be straight with the fingers curled naturally around the handguard.
- The non-firing hand should keep the rifle steady as the non-shooting hand in basketball should steady the ball. Most of the support of the rifle should come from your firing hand and your position, but the non-firing hand is for steadiness.
- Take precaution to always keep this hand clear of the rifle's action and ejected shells.
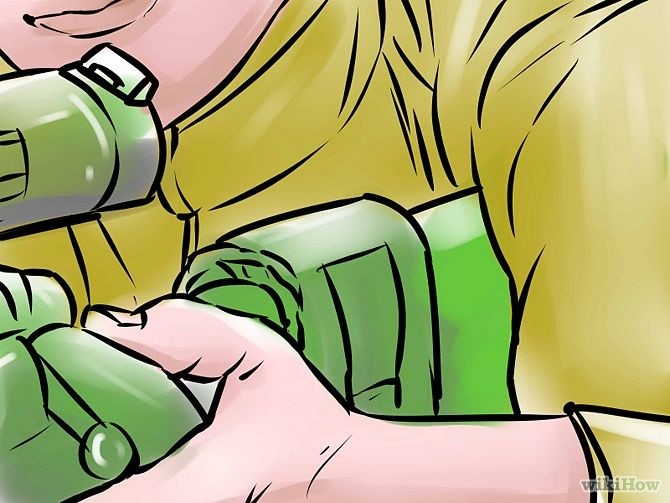
Make sure the butt is steadied against your shoulder, not the fleshy part of your armpit beneath it, or on your collarbone.
- Keeping it firmly in this pocket allows the recoil to be absorbed by your whole body, rather than snapping back into your shoulder, making for a painful and inaccurate shot.
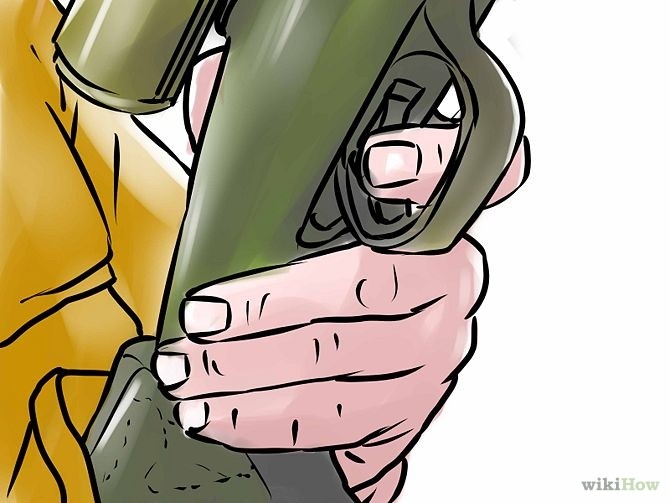
Depending on the kind of rifle you're firing, you'll be gripping either a full pistol grip or a tapered shotgun-style grip. Regardless, your grip on it should be more firm than your non-firing hand, more like a business handshake. There should be some backward pull on the grip, pulling the rifle back firmly into your shoulder. This ensures that, when you're ready to fire, squeezing the trigger won't move the rifle and jostle your accuracy.
- Your trigger finger should be straight. Do not curl it around the trigger until you're ready to fire. Rest it on the side of the trigger guard, or use it with the other fingers to grip the stock.
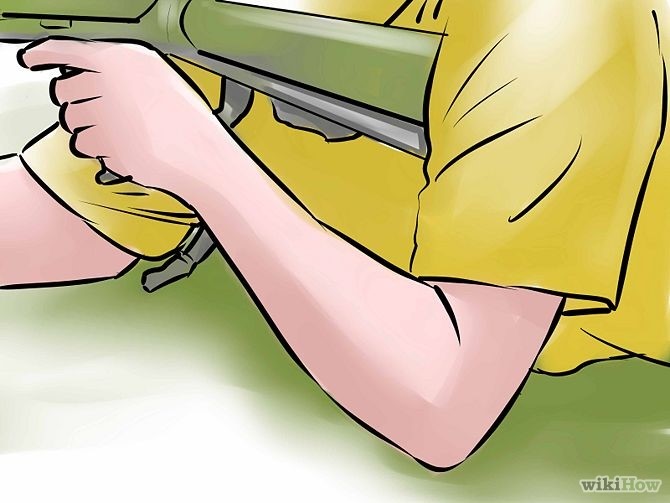
Your elbows will be placed somewhat differently depending on whether you're seated, standing, or prone, but all positions require that your elbows stay under the rifle to support its weight. Imagine a string connected your elbows toward your hips, pulling them in toward your center of gravity.
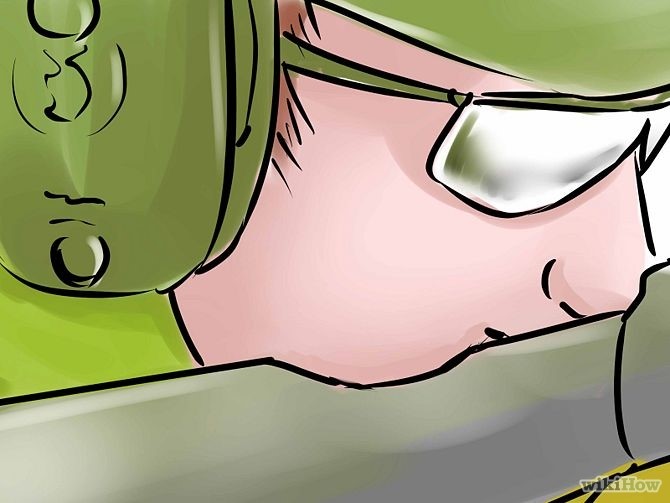
This is sometimes called "cheek to stock weld," and can be obtained by bringing your nose to the charging handle on some rifles. Consistent cheek-to-stock weld will ensure that your eye aligns naturally to the sight and that you don't have to use your peripheral vision to strain and aim.
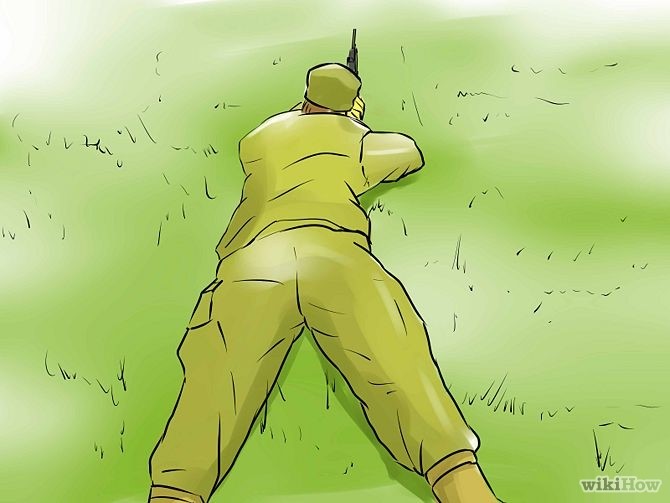
With proper technique, you should be able to relax your body and assume a calm breathing rhythm. Your grip should be firm on the rifle without being tense. If you're using your muscles to hold the rifle, eventually they'll tire and your accuracy will waver. Getting into a comfortable, relaxed position is the best way to shoot accurately.
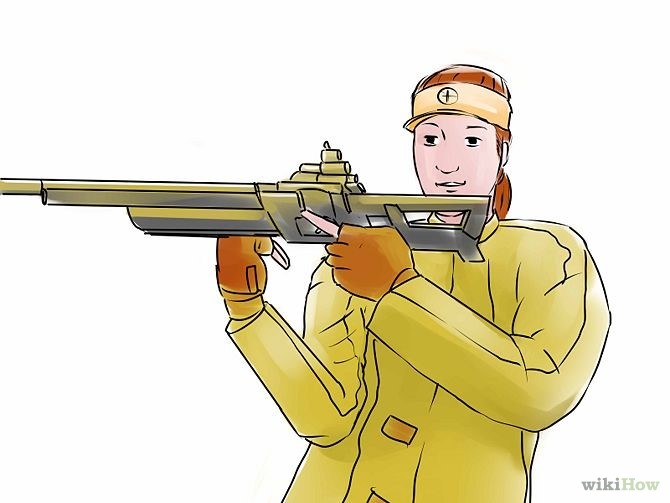
Having oriented yourself in the general direction of the target and relaxed in a steady position, your rifle should be oriented mostly on-target without much more effort on your part. This is called your "natural point of aim" and is a sign of proper technique.
- If, when you relax your muscles in your steady position and let your cheek weld to the stock, you have to expend effort to twist your body around even slightly to get the sight directly on target, this is a sign you need to reposition yourself. Abandon your position and realign yourself properly.
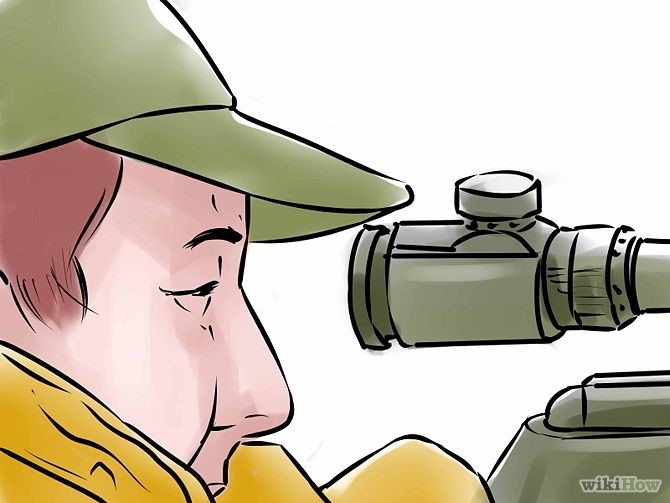
- A basic aperture-sighted rifle (i.e., there's no scope on the rifle) – often called "iron sights" – consists of two parts, a front sight post or "bead" near the tip of the rifle's barrel and an aperture or "crook" about halfway up the barrel. Before you worry about your target, you need to align the bead in the crook to ensure that the rifle is "sighted." Any error here in alignment multiplies exponentially when the bullet leaves the gun.
- If you've got good cheek-to-stock weld, the sighting post should align in the aperture without much difficulty. Reposition your neck slightly if you need to.
- If you're using a telescopic sight, the principle will be essentially the same.[2] Make sure that your eye is the proper distance back from the scope, far enough to avoid recoil and aligned properly so there are no "shadows" in the scope's vision.
- mMake sure your scope is properly sighted before firing and that your front sight post is blackened and matte, not reflective. Use gun blacking or pencil lead to blacken.
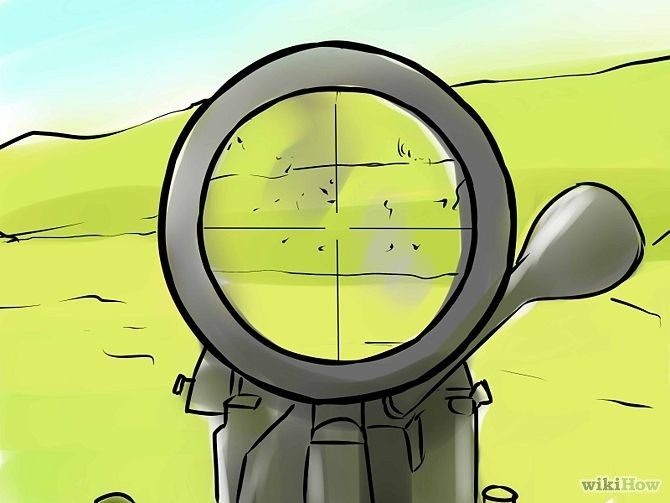
Align your eye with and focus on the front sight post. When you're trying to balance your elbows on your knees and breathe evenly and keep the stock tight and keep a little bead in a little aperture on a tiny target 50 yards away, it can get frustrating: What do you even focus on? The short answer is the bead, not the target. Trust that you're in the right position, relax, and focus on the bead.
- If you're in proper position and you've aligned the sight, your target should be in the aperture, and though it will appear blurry to you, focusing on the bead ensures that you maintain proper sight alignment while firing, resulting in a more accurate shot picture.
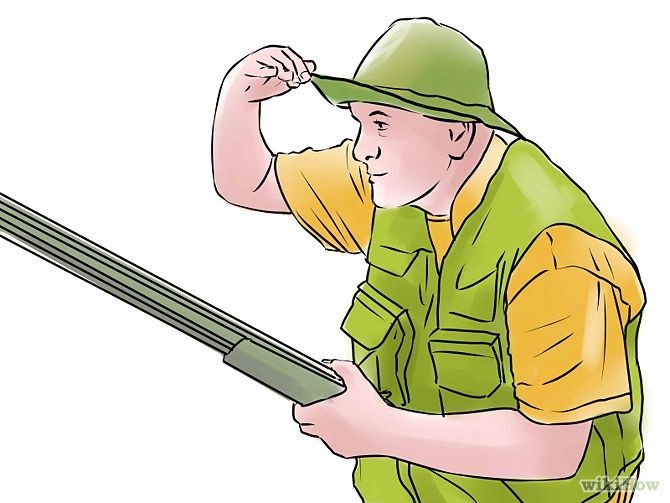 Check your sight picture.
A correctly aimed shot has the front sight post, the aperture, the target, and your eye aligned perfectly (or if using a scope, the crosshairs and the target). This is called a "sight picture." Take a second to shift your focus back and forth between the target and your sight, ensuring that everything is aligned.
- Eventually, the more you practice your aim, you'll be able to do this without changing your focus, which tends to strain the eyes. Practicing cheek-to-stock weld and sight alignment will ensure that your eye doesn't have to work too hard when aiming.
Shooting is a skill of millimeters, and you'll notice how much your breath affects your aim as you train your sights. But it's important to breathe naturally and fully. Holding your breath will cause discomfort and inaccurate shots. In your breathing, learn to notice the moment immediately following an exhale, when you've completely emptied your lungs of air, but before you become uncomfortable and need to take a breath. It's a split-second, but it's the steadiest and most perfect moment to squeeze the trigger.
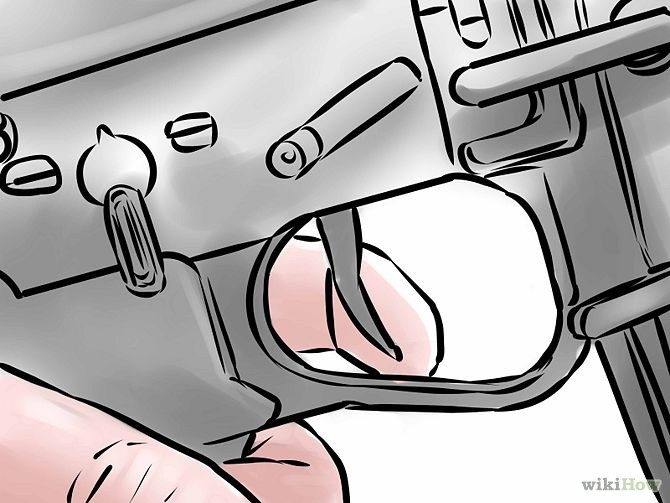
All of your careful alignment and positioning will be undone if you yank on the trigger like a gear shift. Instead, you want to squeeze the trigger as if you were bringing your finger to your fist, completing the firm business handshake you've got on the grip with a gentle squeeze.
- Early on, anticipating the report and recoil of the rifle causes many shooters to wobble when pulling the trigger. It's a lot to keep straight at once, but getting comfortable your rifle is the only way to shoot accurately. Take lots of time setting up your shots and learn to relax. That groundwork will pay off.
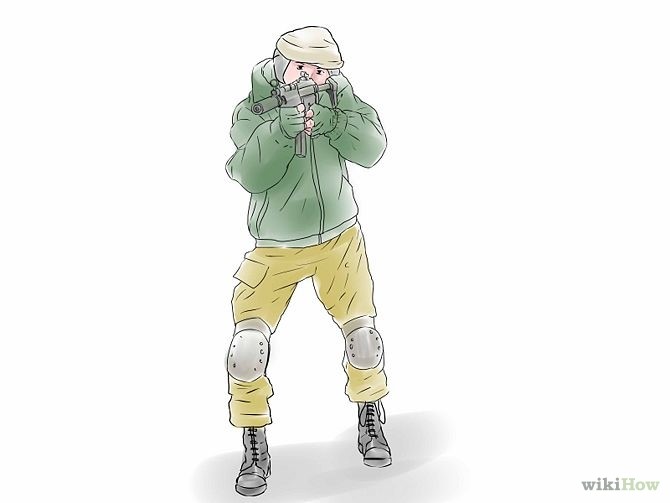
Just like in basketball or golf, the proper positioning and balance needs to continue all the way through the shot. Jerking your head up to see whether you hit the target is the best way to miss it. Keep your muscles relaxed, your cheek welded to the stock, the butt tight to your shoulder pocket, and keep your eye focused on the front sight post. Take a few breaths and you're ready to either check your shot or fire again.
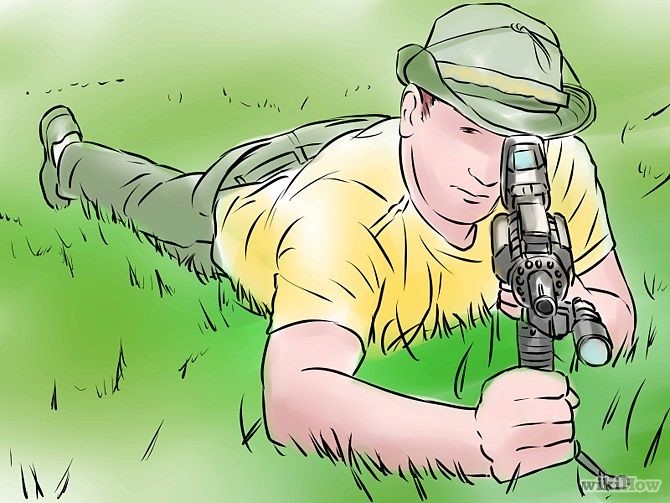
Make a line with your non-firing leg and elbow that points about 25 - 30 degrees to the right of your target. Shoulder the rifle in the crook of your firing shoulder so your natural point of aim falls on your target. Keep the butt high enough in the shoulder so your head stays upright as if you were standing. Use your left hand to bring the rifle up to the target level.
- The prone position is the most stable of all standard firing positions because the shooter's elbows and the weight of the rifle are supported by the ground. You can also use a bipod, sandbag, or other steadying device in this position.
- Be careful of your hot shell casings. Since you're prone, hot spent casings can roll against your skin or fall onto your body, but this applies to shooting from any position.
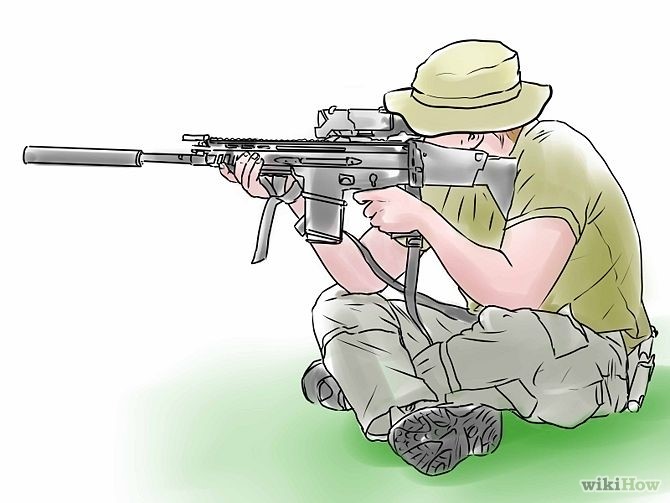
In this position, you'll sit cross-legged, oriented 90 degrees toward to the target. Rest your elbows on each knee to support the riflestock, keeping your back as straight as possible to improve your accuracy.
- This position is very comfortable for some shooters, but is effected significantly by breathing. Maintain good breath control when firing in this position.
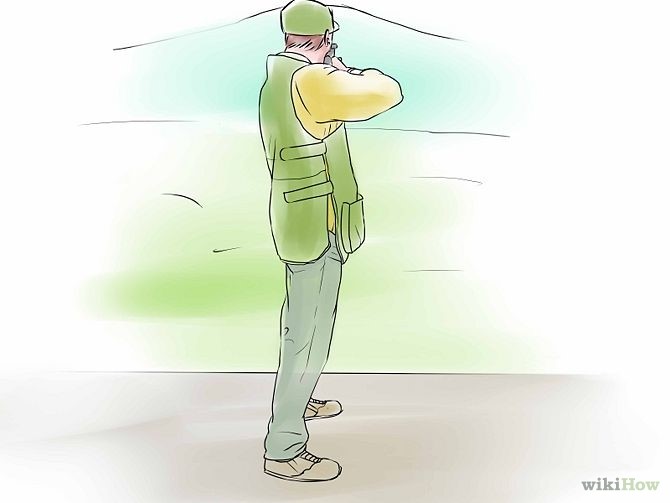
Keep your non-firing hip pointed at the target. You want to distribute the weight of the rifle over both feet evenly to ensure the most accurate shot, so keep your elbows down, your weight balanced on your hips.
- Securely support the rifle by forming straight column of support with your body. The rifle should balance comfortably atop your body, requiring only minimal muscle use from you.
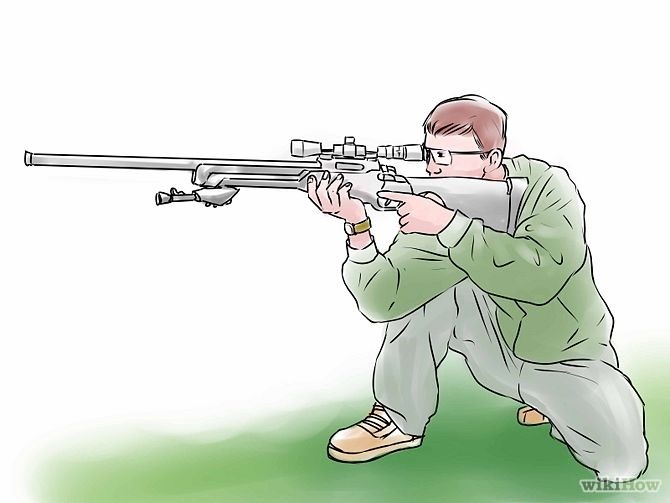
Professional shooters use something called a "kneeling roll" to brace the ankle of the firing-side leg, but you can also use a rolled up t-shirt or other brace. Kneel over your brace, keeping your bracing ankle on the firing side straight and the non-firing knee vertical. You can rest the non-firing elbow on your non-firing knee, or use the kneeling position as a modified standing position and keep it up. Either way, keep your elbows and in and down, supporting the weight of the rifle.
- If you do rest your elbow on your knee, make sure you avoid unstable "bone-to-bone" contact. Instead brace the "meat" of your arm against your knee. Try placing your knee against your left tricep an inch or two above your elbow, then making minor adjustments to find the stablest, most comfortable position for you.
Back To Top